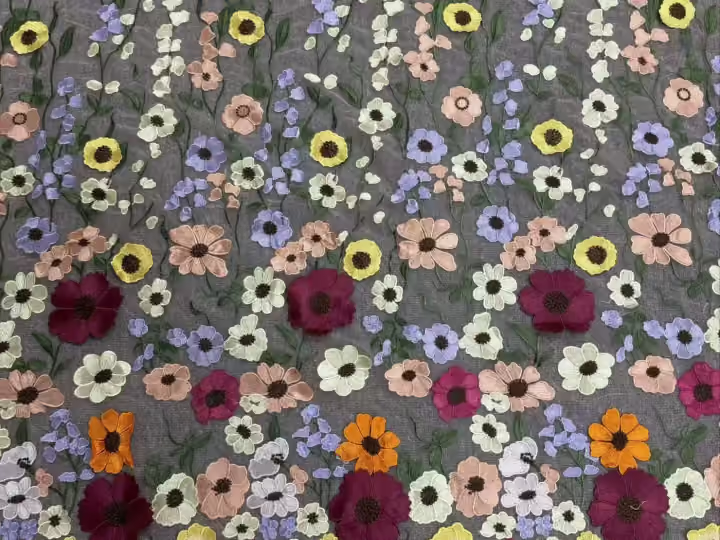
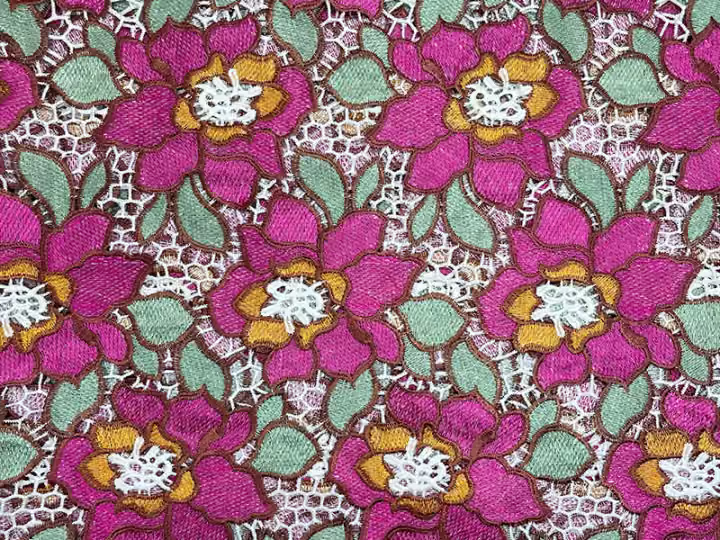
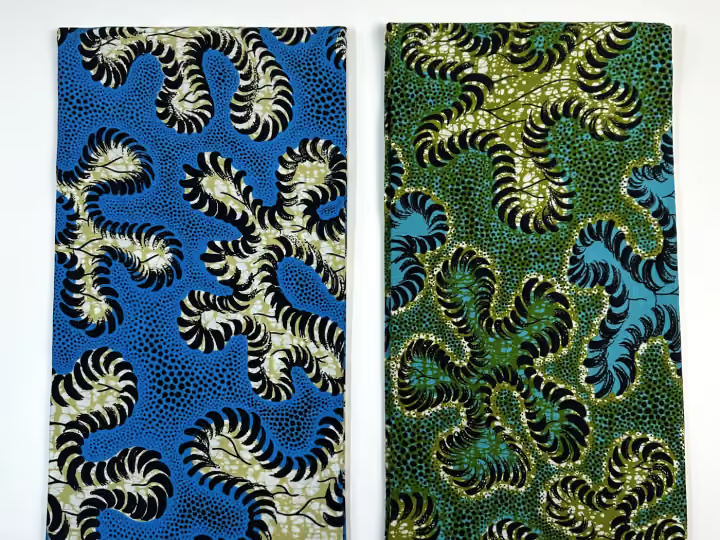
Define the area you need
Tell the maker whether the whole panel must be embroidered or whether an undecorated area can sit inside a seam. These are different requirements. A full outer width does not automatically describe the decorative coverage, and the area acceptable for one dress panel may not suit another.
Request measurements across the selected reference
Ask for the overall width, usable cutting width and decorated area where relevant. Identify the exact code and colour. If a picture includes a ruler, check that both ends and the measuring direction are visible. Perspective and a folded edge can make an apparent width misleading.
Explore the productsTry a layout before increasing the quantity
For an illustrative planning exercise, a panel requiring 60 cm across cannot be placed in a usable area of 58 cm without changing the plan. Buying extra length does not solve that width problem. These are example figures, not specifications for a catalogue product; have the maker test the actual pattern.
Record the agreed meaning of width
Keep the measured width with the reference, sample and cutting direction. If a later supply is proposed, confirm that it meets the same requirement. For this site’s wax range, 115 cm is the confirmed width; do not use that number as the embroidery width or assume a particular decorated area.
A practical comparison
| Measurement | What it answers |
|---|---|
| Overall width | How wide is the supplied fabric? |
| Usable width | Where can the pattern pieces fit? |
| Decorated area | Which part has the intended embroidery? |
Your buying checklist
- Define the garment panel.
- Ask which width is measured.
- Check the actual layout.
- Save the width with the reference.
View the dated embroidery warehouse gallery
Discuss your fabric requirements with Rose
Save references, note quantities and send your questions. Confirm specifications and availability for the exact items you need.