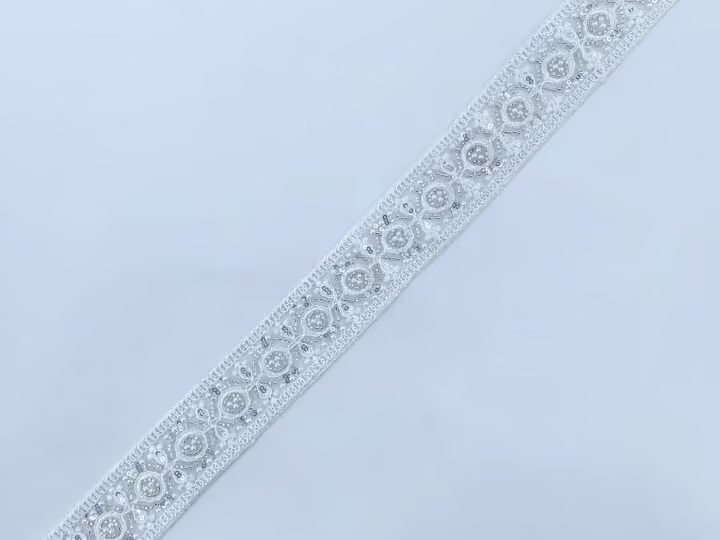
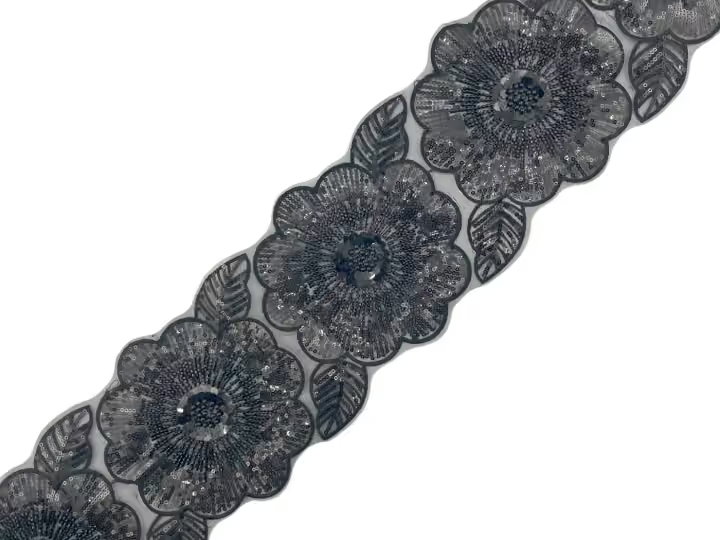
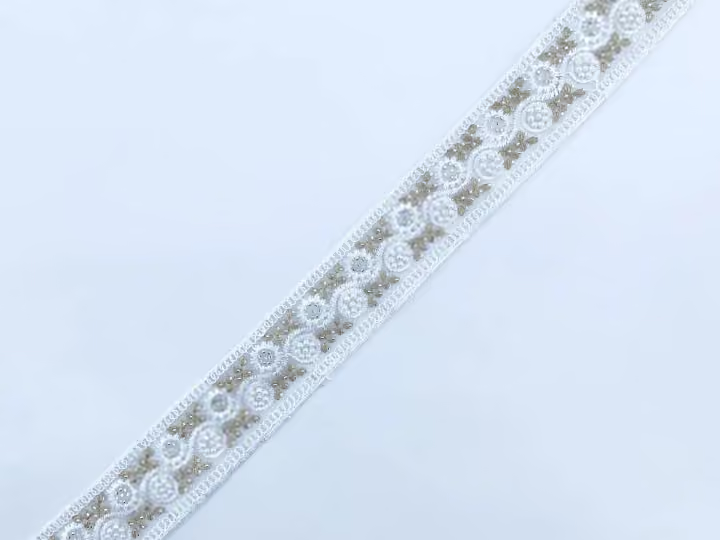
Give each trim a role
Identify the base strip and upper decoration on a sketch with both product numbers. Mark the overlap and visible outline. If the design depends on a particular motif appearing between the layers, show that relationship at actual scale rather than with an approximate collage.
Build the real layer stack
Ask the maker to use the garment fabric, planned support and both trims in the trial. Compare the face and reverse, thickness and edge profile. A photograph of two loose strips placed together cannot confirm the assembled result or an appropriate attachment method.
Explore the productsPlan the joins as a pair
Mark where each trim begins, ends and joins. Their repeats may not line up at every point, so decide which relationship is essential and what variation is acceptable. Use an actual joined trial instead of assuming equal strip lengths produce matching decorative endpoints.
Confirm separate consumption
Measure each trim used in the approved assembly. Keep overlaps, joins and reserve explicit and confirm each supplier sale unit. Recheck the combination if either product is substituted or the application width changes before bulk sewing.
A practical comparison
| Element | Record | Purpose |
|---|---|---|
| Identity | Two exact trim references | Prevent accidental substitution |
| Arrangement | Overlap and visible outline | Define the intended appearance |
| Quantity | Length used for each layer | Calculate separate order lines |
Your buying checklist
- Assign a role to each trim
- Trial the full material stack
- Approve joins together
- Measure each trim independently
Discuss your fabric requirements with Rose
Save references, note quantities and send your questions. Confirm specifications and availability for the exact items you need.