Use the finished curve
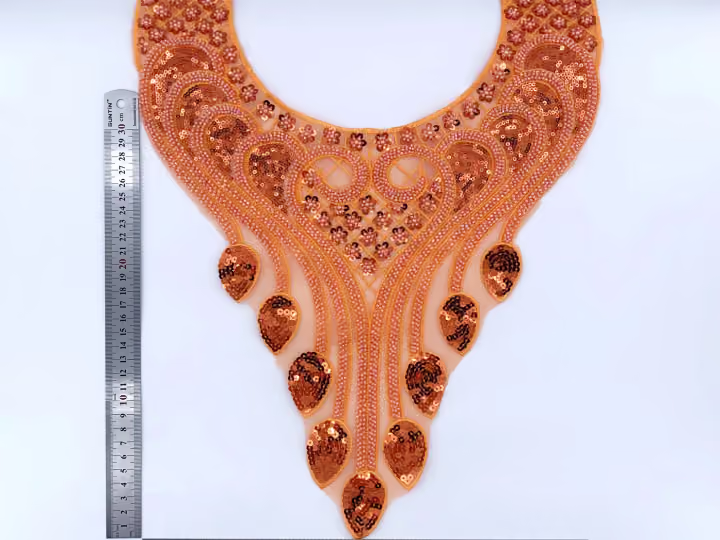
Trace the finished neckline at actual size, marking centre front, shoulders and the attachment line. The outer cut edge is not necessarily where the trim will be fixed. Include the intended garment fabric or a representative mock-up so the maker sees the shape that matters.
Place without forcing
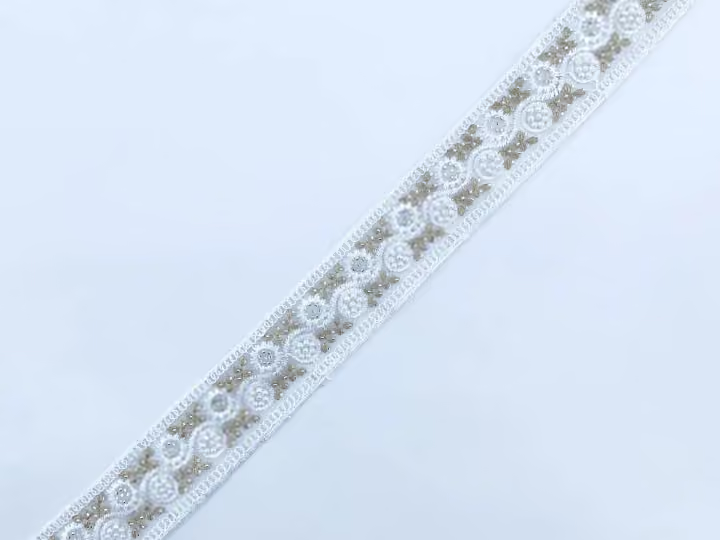
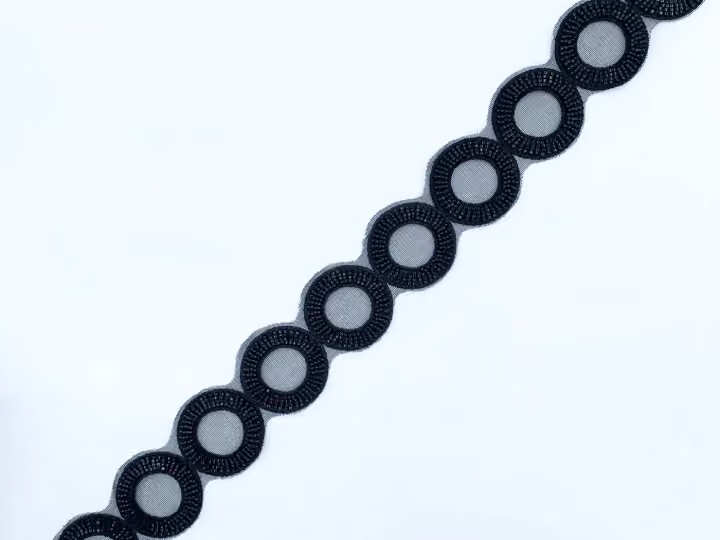
Lay the trim along the attachment line without stretching it to conceal a mismatch. Observe both edges: the inner edge may lift while the outer edge pulls. Photograph the starting position and any uneven areas. Do not assume a design contains stretch because its pattern looks open or net-like.
Explore the productsAgree the adaptation
Ask the maker whether the design can be applied as supplied, needs a deliberate join or requires a different trim. Any proposed clipping, shaping or motif separation should first be tested on a designated sample. Record visible changes; a concealed adjustment is still part of the approved construction.
Measure the accepted route
Once the trial sits as intended, measure the approved application length and retain the sample. Confirm the supplier's sale unit and whether the required lengths can be supplied. Calculate the purchase from the accepted method, including documented joins or reserves, rather than from the neckline circumference alone.
A practical comparison
| Position | Look for | Decision |
|---|---|---|
| Inner edge | Lifting or gathering | Accept or revise construction |
| Outer edge | Pulling or distortion | Check fit without force |
| Join area | Visible overlap or gap | Approve the actual treatment |
Your buying checklist
- Trace the finished attachment line
- Place without stretching
- Trial any proposed adjustment
- Measure after the fit is approved
Discuss your fabric requirements with Rose
Save references, note quantities and send your questions. Confirm specifications and availability for the exact items you need.