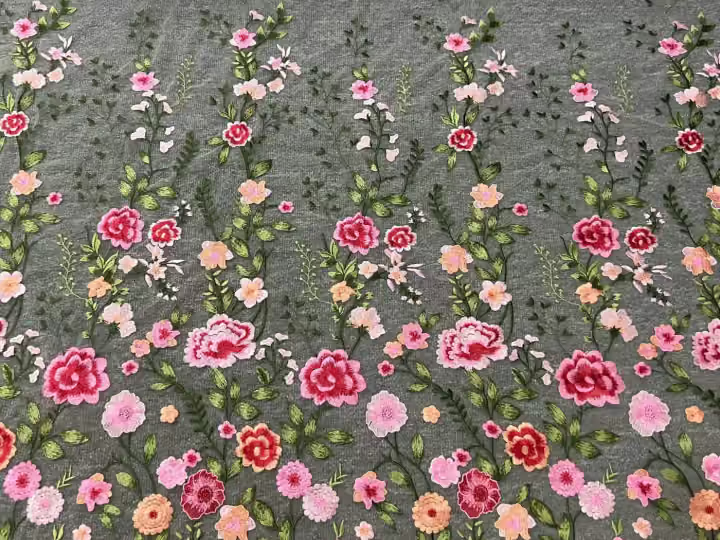
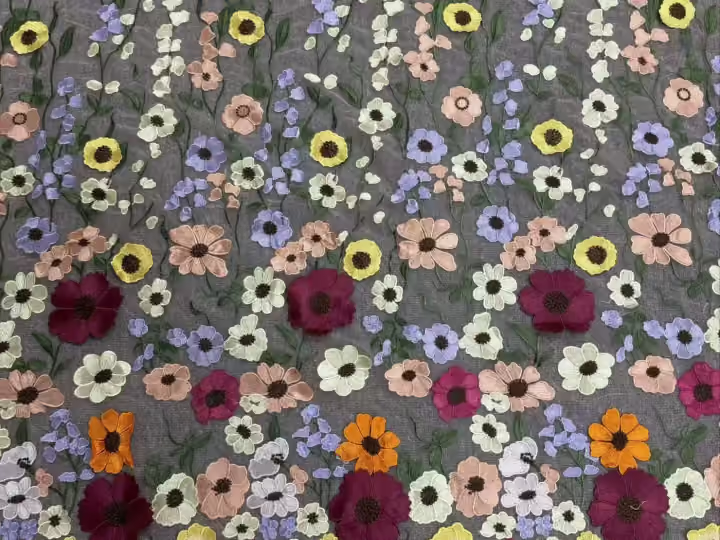
Mark the visible seam line
Draw both cut edges and the finished joining lines on the real pattern. Identify which portion of each motif remains visible after sewing. Matching raw edges alone can create a misleading preview because the decoration nearest the edge may be hidden inside the join.
Choose the important relationship
Decide whether the seam should continue a motif, balance two separate motifs or deliberately interrupt the design. Keep a sketch of the intended result. Not every embroidery layout can produce an invisible join at every location, so approve the achievable relationship with the designer.
Explore the productsReview a sewn example
Ask the maker to join representative decorated areas using the intended construction. Photograph the whole join and a close detail without pulling it flat artificially. Review the reverse and thickness as well as the visible motif; appearance should agree with the practical assembly.
Carry the result into cutting
Keep the approved sample and its position within the fabric design. Have the maker calculate from that layout rather than from total decorated area alone. If the seam location or pattern size changes, confirm whether the original matching plan still works before bulk cutting.
A practical comparison
| Line | Shows | Record |
|---|---|---|
| Cut edge | Material entering the seam | Allowance boundary |
| Finished seam | Decoration remaining visible | Required motif relationship |
| Sewn trial | Actual assembled appearance | Approved reference sample |
Your buying checklist
- Mark cut and finished seam lines
- Choose an achievable motif relationship
- Approve a sewn join
- Recheck changed seam positions
View the dated embroidery warehouse gallery
Discuss your fabric requirements with Rose
Save references, note quantities and send your questions. Confirm specifications and availability for the exact items you need.