Map the visible route
Draw the trim route around the finished garment. Mark the front, back, openings and areas regularly exposed in wear. Decide where a join would be acceptable and where continuity is essential. A seam hidden when laid flat may become visible when a sleeve lifts or an opening is used.
Check repeat alignment
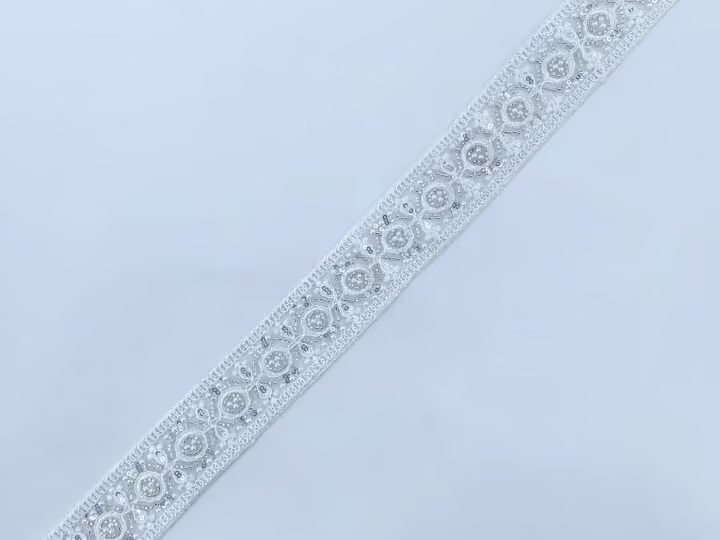
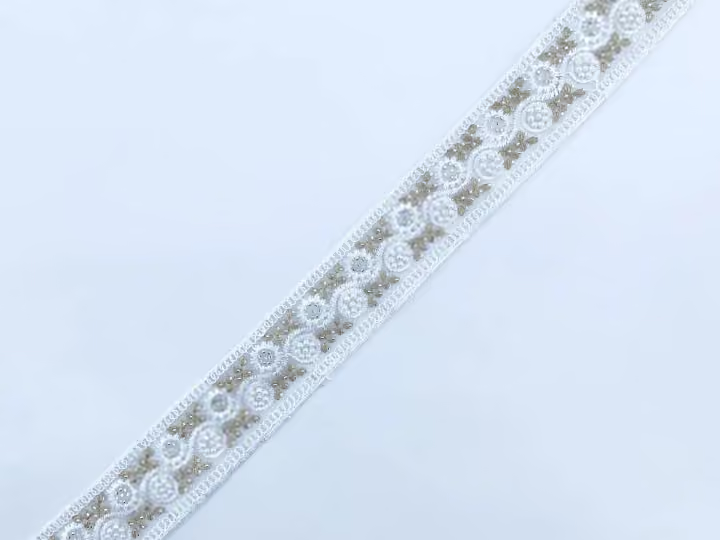
Lay the actual trim ends together at the proposed join. Compare the repeat, edge shape and decorative thickness. Two ends of the same design do not automatically meet in an invisible pattern. Ask the maker to demonstrate the achievable result instead of instructing an unspecified seamless finish.
Explore the productsConfirm supplied cut lengths
Ask whether the order can be supplied in the lengths your approved routes require and how separate cuts will be identified. Total purchased metres and longest uninterrupted length are different information. Do not calculate a long continuous run from an aggregate total without checking the actual cut arrangement.
Record the accepted join
Keep a close-up and a garment-context image with the trim reference. Note the joining method and measured consumption for the trial. For repeated garments, list allowed join zones in the cutting brief. Recheck the result if another trim is substituted or if the supplier's cut arrangement changes.
A practical comparison
| Field | Record | Why it matters |
|---|---|---|
| Position | Permitted and excluded zones | Controls visibility |
| Appearance | Actual joined motif photo | Sets a realistic expectation |
| Supply | Separate cut lengths | Confirms uninterrupted routes |
Your buying checklist
- Map the complete trim route
- Approve a real joined sample
- Ask for individual cut lengths
- Recheck substitutions and changed cuts
Discuss your fabric requirements with Rose
Save references, note quantities and send your questions. Confirm specifications and availability for the exact items you need.