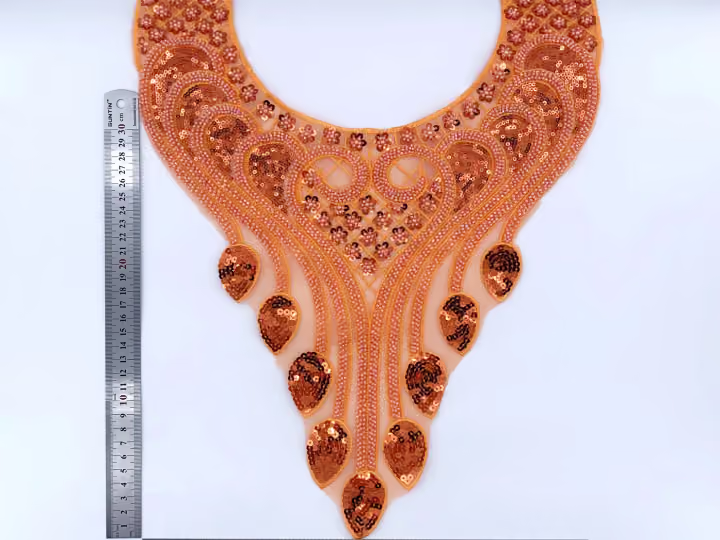
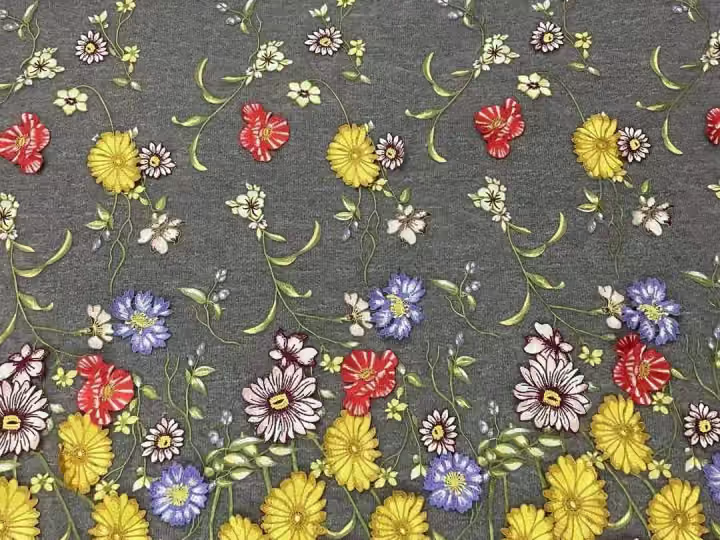
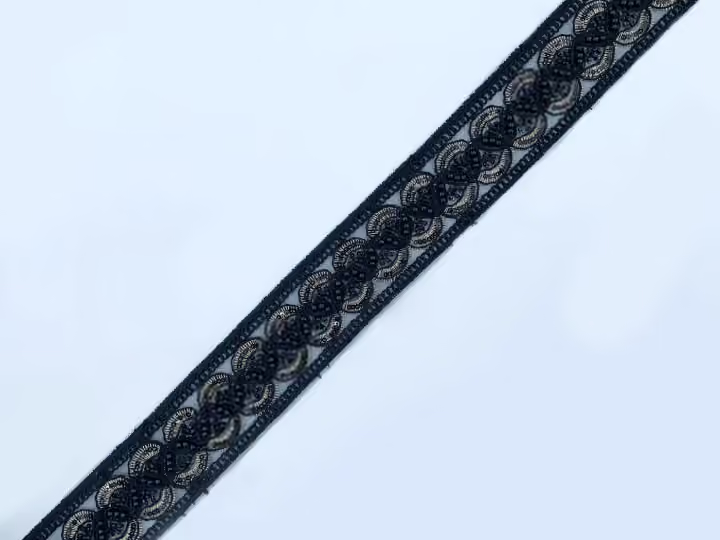
Identify the attachment areas
Ask the maker to mark where the neckline can be attached and which decorative areas should remain visible. Review the reverse and edge structure. Do not treat every bead, sequin or motif as a suitable stitch point, and do not assume that the product arrives ready to iron on.
Build the intended layers
Use the planned garment fabric, lining and any maker-approved support in the sample. Keep each material reference. A test on a firm scrap may not represent a delicate garment front. Ask the maker to assess whether the assembly distorts or feels uncomfortable under the ornament's weight and movement.
Explore the productsEvaluate the chosen method
Let the maker select and document a suitable attachment method. Review front appearance, reverse finish and gentle normal movement on the sample. If adhesive or heat is proposed, obtain material compatibility guidance and trial it first. Do not substitute a generic temperature or glue recommendation for product-specific confirmation.
Retain the assembly standard
Keep the accepted sewn sample and pictures with a version number. Record any care instructions applicable to the complete combination and any limitations still awaiting confirmation. Recheck attachment if the base fabric, support or decorative neckline changes; approval of one assembly does not cover every later variation.
A practical comparison
| Item | Give to the maker | Review |
|---|---|---|
| Ornament | Exact reference and reverse view | Possible attachment areas |
| Garment | Base, lining and intended use | Support and visible distortion |
| Trial | Recorded method and sample version | Appearance and normal movement |
Your buying checklist
- Identify suitable attachment areas
- Use the real garment layers
- Trial the proposed method
- Keep the accepted assembly sample
Discuss your fabric requirements with Rose
Save references, note quantities and send your questions. Confirm specifications and availability for the exact items you need.